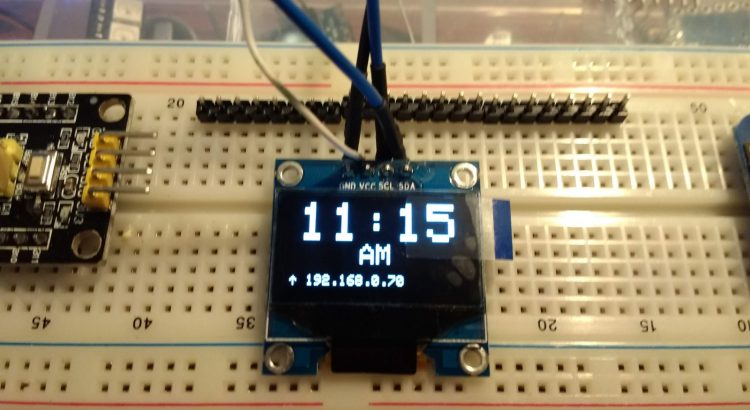
This is part two of a multi part series that documents my process of building ClockClock the alarm clock. Check out part one.
Dev Environment
For this project I used Visual Studio Code combined with PlatformIO which lets me speed up build times for the project. Platform IO does a great job caching files that have not change between builds. With the Arduino IDE I saw build times of almost 2 minutes every time I need to change some thing. With Visual Studio Code + PlatformIO compile times dropped down to 15 seconds or so.
Challenges
For me the most challenging thing about this was not the core code itself but how to organize and break it down into custom libraries. I did this in an effort to help keep things more understandable. This was my first attempt at creating c++ style libraries. One interesting thing I ran into are static declarations inside functions. These static variables keep their value between function calls.
Another new concept was that of the header files (the ones ending in .h) and the role they play. I am sure I still do not fully understand them but a simple description might be that they provide a definition of what should be in the main c++ file (the ones ending in .cpp).
Libraries
There are a few key things we need to accomplish to have a working alarm clock. It just so happens that a lot of those things have already been written and are libraries.
You can get a full list of libraries used by looking at the ClockClock github page. I wanted to make a note of one particularly annoying library. The Adafruit SSD1306 Wemos Mini OLED library is not very flexible when it come to defining oled resolutions. You either need to include a local copy per project so each copy can be modified to the specific OLED resolution.
Aside from that library all the others were very easy to work with.
