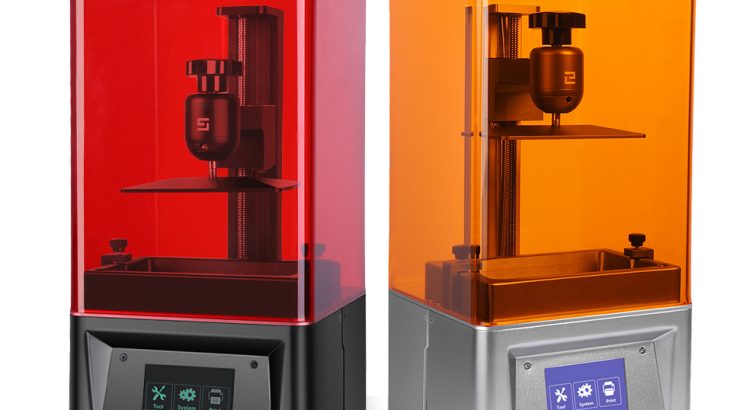
Currently I am using this with my Elegoo Mars MSLA 3d printer. I am able to transfer files via network share and then after 10 seconds the files will show up in the print menu.
Start with installing raspbian light and setting up your wifi and ssh access. Instructions on how to do this.
Enable usb driver
Next, we need to enable the USB driver which provides the gadget modes, by editing two configuration files.
sudo nano /boot/config.txt
Scroll to the bottom and append the line below:
dtoverlay=dwc2
Press CTRL+O followed by Enter to save, and then CTRL+X to quit.
sudo nano /etc/modules
Append the following lines, just after the i2c-dev line:
dwc2
g_mass_storage
Press CTRL+O followed by Enter to save, and then CTRL+X to quit.
Now shut down the Pi Zero W with the command:
sudo reboot
Create a container file
To enable mass storage device mode, we need to create a large file to act as the storage file on the SD card.
If you would like to change the size of the “usb drive” that shows up then change the 2G to something else. I personally have it as 8G on a 16gb pen drive:
sudo fallocate -l 2G /piusb.bin
We now need to format the file as a FAT32 file system so that the device can understand it. Enter the command below:
sudo mkdosfs /piusb.bin -F 32 -I
Mount the container file
Create a folder on which we can mount the file system:
sudo mkdir /mnt/usb_share
Now let’s add this to fstab, the configuration file that records our available disk partitions:
sudo nano /etc/fstab
Append the line below to the end of the file:
/piusb.bin /mnt/usb_share vfat users,umask=000 0 2
Press CTRL+O followed by Enter to save, and then CTRL+X to quit.
The line we added to fstab allows the USB file system to be error-checked and mounted automatically at boot time. Instead of rebooting, we can manually reload fstab with the command below:
sudo mount -a
Install and configure Samba
The next step is to provide network access to the /mnt/usb_share folder that we created earlier. Run:
sudo apt-get update
Then:
sudo apt-get install samba winbind -y
When the installation is complete, we need to configure a Samba network share. For simplicity, this will not require a user name or password, as it is already protected by your wireless network security. If you want more security, see wiki.samba.org.
sudo nano /etc/samba/smb.conf
Scroll down to the end of the file and append the lines below:
[usb]
browseable = yes
path = /mnt/usb_share
guest ok = yes
read only = no
create mask = 777
Press CTRL+O followed by Enter to save, and then CTRL+X to quit.
Now restart the Samba service for the changes to take effect:
sudo systemctl restart smbd.service
Automate USB device reconnect
In order for any changes we’ve made over the network we need to trigger a removed and reinserted event.
We can use a Python library called watchdog (magpi.cc/2sLL1fi), which is designed for monitoring file system events and responding to them. Install this with the command below:
sudo apt-get install python3-pip -y
Then run:
sudo pip3 install watchdog
The following script is not mine but does a very good job. Run the following commands:
cd /usr/local/share
Then run:
sudo wget https://raw.githubusercontent.com/hcker2000/usbpizw/master/usbshare.py -O usbshare.pysudo chmod +x usbshare.py
Background service
We need to make this program into a background service, so that it starts automatically at boot time. We can do that by making it into a systemd unit. Enter the commands below:
cd /etc/systemd/system
Then run:
sudo nano usbshare.service
This will start a new blank file. In the new file, enter:
[Unit]
Description=USB Share Watchdog
[Service]
Type=simple
ExecStart=/usr/local/share/usbshare.py
Restart=always
[Install]
WantedBy=multi-user.target
Press CTRL+O followed by Enter to save, and then CTRL+X to quit.
Now we need to register the service, enable it, and set it running:
sudo systemctl daemon-reload
sudo systemctl enable usbshare.service
sudo systemctl start usbshare.service
